Intastellar Consents Solutions: JavaScript Documentation
To add the banner, you MUST add a link to your privacy & cookie policy. Read how under: Customize cookie info section!
Get started!
To start with the implementation, the script below must be added at the beginning of the <head> tag, then you are good to go:
    <script>
        window.INTA = {
            policy_link: "[Link to a valid privacy policy. (example.com/privacy-policy or example.com/privacy)](Required)",
            settings: {
                rootDomain: "[Your main website domain, when you´re using multiple domains] (Required)",
            }
        }
    </script>
    <script src="https://consents.cdn.intastellarsolutions.com/uc.js"></script>
Try now
Standard settings for the banner, for customization and user consents collection.
| Parameters | |
|---|---|
| policy_link |
Required
can be a string with a link to "privacy & cookie policy", or an object. |
| Parameters inside the settings object | |
| rootDomain |
Required
This domain is used to collect all user consents under one domain, especially useful if partnerDomain is used. |
| Arrange |
Required
left side: ltr, right side: rtl |
| Color |
Required
Your brand color as the banner will appear. It can be either a hex, rgb color, or a css variable including "var()". |
| Logo |
Required
A link to the company's logo. We recommend that the image has a width of 50px. |
| partnerDomain |
An array of domains for cross-domain tracking and sharing of cookie consents. |
| design |
How the banner should look. There are 2 options:
|
Intastellar Consents Solutions supports 11 languages:
- danish
- english
- german
- spanish
- swedish
- french
- norwegian
- dutch
- italian
- finnish
- russian
Language preference fetches the script via the lang attribute on the HTML tag. If this is not set, it defaults to Danish.
Customize cookie info!
Do you want to modify the cookie banner? Then you just need to add the small snippet of code, and you can add a logo, brand color, and which corner it should sit in.
The code below should be placed before <script src="https://consents.cdn.intastellarsolutions.com/uc.js"></script> to be used. It can also be placed in a separate JS file, the most important thing is that it comes before "uc.js".
| Parameters for settings | |
|---|---|
| language |
The language the banner should be displayed in. You have the option to choose between 11 choices.
|
| rootDomain |
Required
This domain is used to collect all user consents under one domain, especially useful if partnerDomain is used. |
| company |
The name of your company or website. |
| Arrange |
Required
left side: ltr, right side: rtl |
| Color |
Required
Your brand color as the banner will appear. It can be either a hex, rgb color, or a css variable including "var()" |
| Logo |
Required
A link to the company's logo. We recommend that the image has a width of 50px. |
| partnerDomain |
An array of domains for cross-domain tracking and sharing of cookie consents. |
| requiredCookies |
list of all cookies that are required |
| text |
can have a value of true or false (default: false) |
| gtagId |
Google Tag Id / GA4 id for domain-linker & userId set |
| keepInLocalStorage |
list of cookies that should remain in localStorage. |
| design |
How the banner should look. There are 2 options:
|
    <script>
        window.INTA = {
            policy_link: "[Link til privat og cookie politik](Krav)",
            settings: {
                language: "danish, german, english, spanish or auto",
                company: "[Name of your company]",
                arrange: "rtl",
                color: "[Preferred color]",
                logo: "[Website´s logo eller icon]"
            }
        }
    </script>
If you specify an object for "policy_link", you can set the target attribute: e.g., _blank, if you want to open the Privacy Policy in a new window.
Settings attributes
You can also modify the cookie banner via these settings, which should be under the "settings" object:
The Text attribute gives you the option to display the text "Cookie Settings" next to the cookie icon.
With the settings attribute "ccpa", you have the option to have a "Do not sell my personal data" badge and add a link to your California Consumer Privacy Act guidelines. This feature is under development and not yet available in the live version.
    <script>
        window.INTA = {
            policy_link: {
                url: "[Link til privat og cookie politik](Krav)",
                target: "_blank"
            },
            settings: {
                language: "danish, german, english, spanish or auto",
                arrange: "rtl",
                company: "[Name of your company]",
                color: "[Preferred color]",
                logo: "[Website´s logo eller icon]",
                text: true or false,
                advanced: true or false,
                ccpa: {
                    on: true or false,
                    url: "[Link to your California Consumer Privacy Act guidelines]",
                    collection: [
                        "List of personal data that you collect. The IP address does not need to be added."
                    ]
                }
            }
        }
    </script>
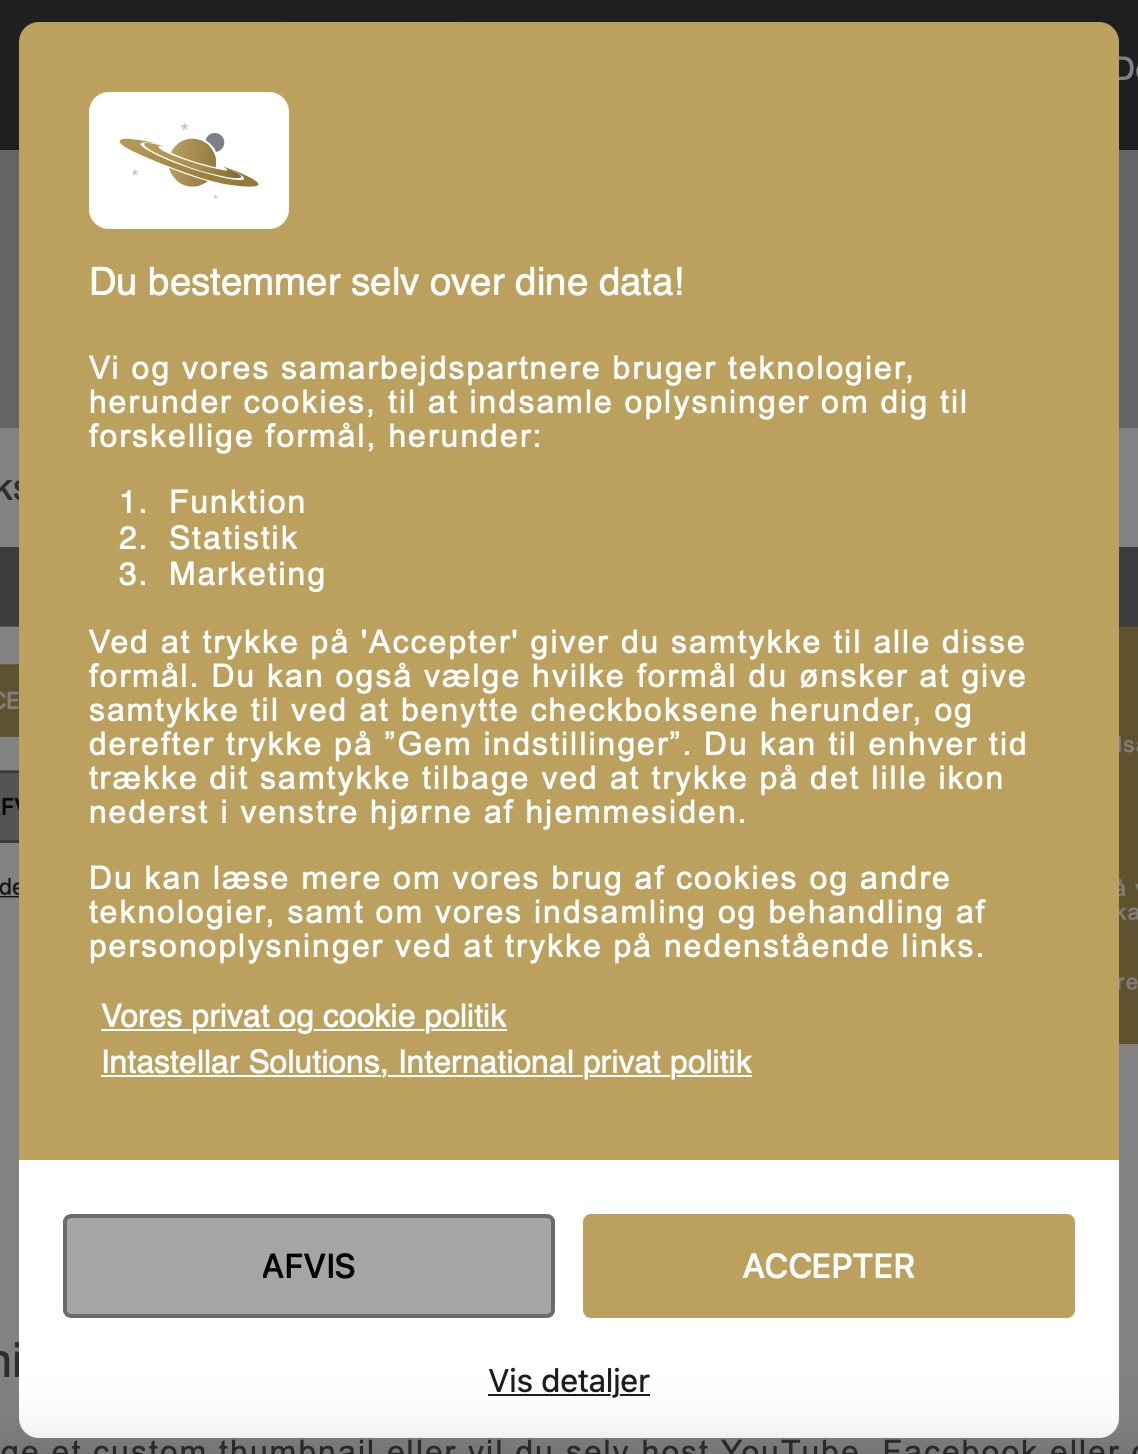
Design examples of the cookie banner


Customize iFrames
If you want to use a custom thumbnail or host YouTube, Facebook, or other video thumbnails yourself, you can do that too.
Using "inta-yt-placeholder-img" you can add a self-hosted image to any video.
<iframe src=[url to a YouTube video] inta-yt-placeholder-img=[Link to a custom thumbnail as placeholder image]></iframe>
If you leave "inta-yt-placeholder-img" out, for example, a YouTube video will use the one hosted by YouTube.
Addition to your own coded banner!
Do you already have a design for a cookie banner and now want to add the functionality of a cookie banner? We have something for that too.
Just add these 3 classes to your existing cookie banner:
- intastellarCookieBanner (On the container of the cookie banner)
- intastellarCookieBanner__acceptAll (On the "accept all" button)
- intastellarCookieBanner__acceptNecessary (On the "accept only necessary" button)
- intastellarCookieBanner__settings (On the "settings" button)
    <div class="cookieBanner__container intastellarCookieBanner">
        <div class="cookieBanner__content">
            <p>Dette er en example banner</p>
            <button class="intastellarCookieBanner__accpetAll">Accpet alle cookies</button>
            <button class="intastellarCookieBanner__accpetNecssery">Accpet kun nødvendige cookies</button>
            <button class="intastellarCookieBanner__settings">Indstillinger</button>
        </div>
    </div>
Uses by:


